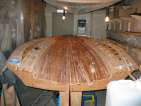
Completing the bow
posted 2005 Apr 24
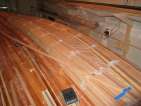
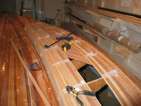
I completed installing all the strips in the wings - finally. The
last few pieces are tricky to shape and install. In particular, for
the last three pieces, the triangular final piece is easiest to place
first and then work back from that corner.
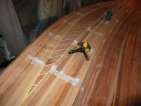
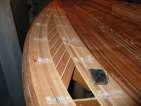
Next up was working on the bow. You shape the bow with the plan
tube - the tube has to be able to fit into the opening in the bow. So
I tried to align it along the strips, then cut a straight line on a
diagonal downwards toward the centreline. This removed much of the
cedar, but getting a perfect fit still meant wrapping the tube in
sandpaper and sanding
down the hole. The trick here is to make sure that when you're done,
the tube lays straight along the centreline strip - adding a straight
line along the tube helps.
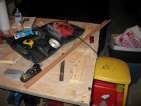
Next up, I wrapped the tube in plastic, and three sheets of 8
oz. s-glass, left over from glassing the hull. Each is 10" long, and
either 6 or 8 inches wide - 6 is good for the final piece (closest to
the tube) but having 8" helps for the outer pieces. Wet these out on the tube,
let it cure, and then place in the hole in the bow you've made.
Sanding the gunwales
posted 2005 Apr 17
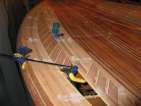
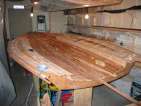
Did two things this week. First, I continued installing the strips
in the step. It takes an evening to cut one 8' strip up to fit in the
hole - and having cut strips for both port & starboard, I glued all
the pieces I had friction fit in place. This took a while - lots of
clamping to ensure a tight fit.
With all three strips completely cut, I found out I would need a
fourth - I miscalculated how many 8' long strips I would need. I
figured three at most, but it turns out that I'll need at least
four.
So, while I waited for the weekend (and the ability to go over to
Max's house and cut another strip), I decided to sand down the
mahogany gunwale strips. This was dusty. I used the
cheap belt sander I bought to shape the bowpiece. This one was worse
- dust all over the garage. The centre strip, and the 1/4" cedar
strip, were the thin pieces. So most of the material had to be removed
from the top and bottom strips. For the first side I just plowed into
it with the sander, but on the other side I started with the plane,
and came back with the sander. Be sure to press evenly, so you remove
the same amount from both top and bottom strips. All in all, it worked
out very well, the gunwales look (and feel) great.
Installing darts on the step
posted 2005 Apr 10
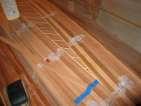
Started on the darts. The darts are strips of 1 1/2" mahogany,
1/8" purpleheart, and 1/4" yellow cedar. Take all of these, cut them
into 1/4" tall strips, and glue them up in a long strip, like this. Do a bunch at once,
because while they're drying you can't make much progress.
The darts are installed at 60° off the centreline. To find
this 60° measurement, I found parallel lines to the
centreline, and marked them on the wing. I then put a strip down on
the marks, and used my protractor to find the
correct angle. Then shape the initial piece for the very top of the
hole - this one is the most important, since all the other pieces will
follow its edge.
Cutting the strips doesn't take too long - 8 feet of strip took about
an evening to cut and shape correctly. Gluing all those pieces in
place took more time because I had to worry about good fits and clamping things together -
that took a couple nights. One strip fills up a little less than 1/2
of the hole. All told, it will take about four 8' long strips of
mahogany to fill the entire hole. It sure does look pretty, though.
[Update 2008 Mar 25: Check out this
fabulous inlay, built by John Harmuth (USA
085):
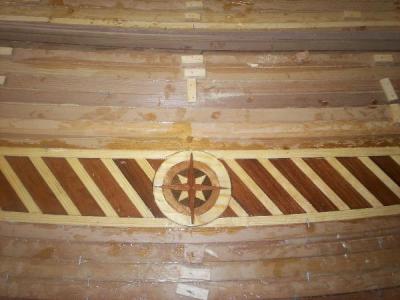
Very nice woodwork.
I have to say, if I was building another deck, I would probably put
in something like this (which I really like), as well as a single
centre strip of mahogany with two narrow strips of white cedar
alongside. Having these accents just makes it look that much nicer.]
Page 40 of 62
« First
…
«
38
39
40
41
42
»
…
Last »
