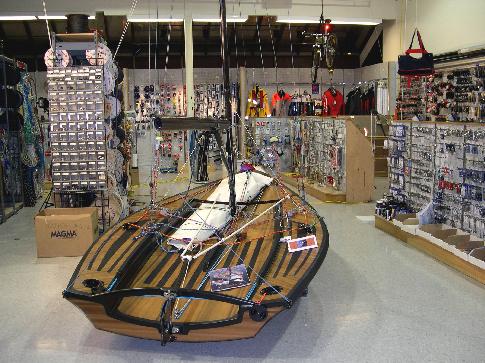
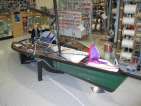
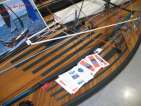
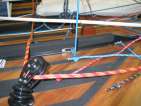
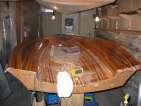
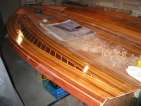
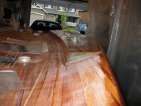
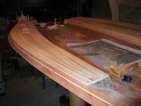
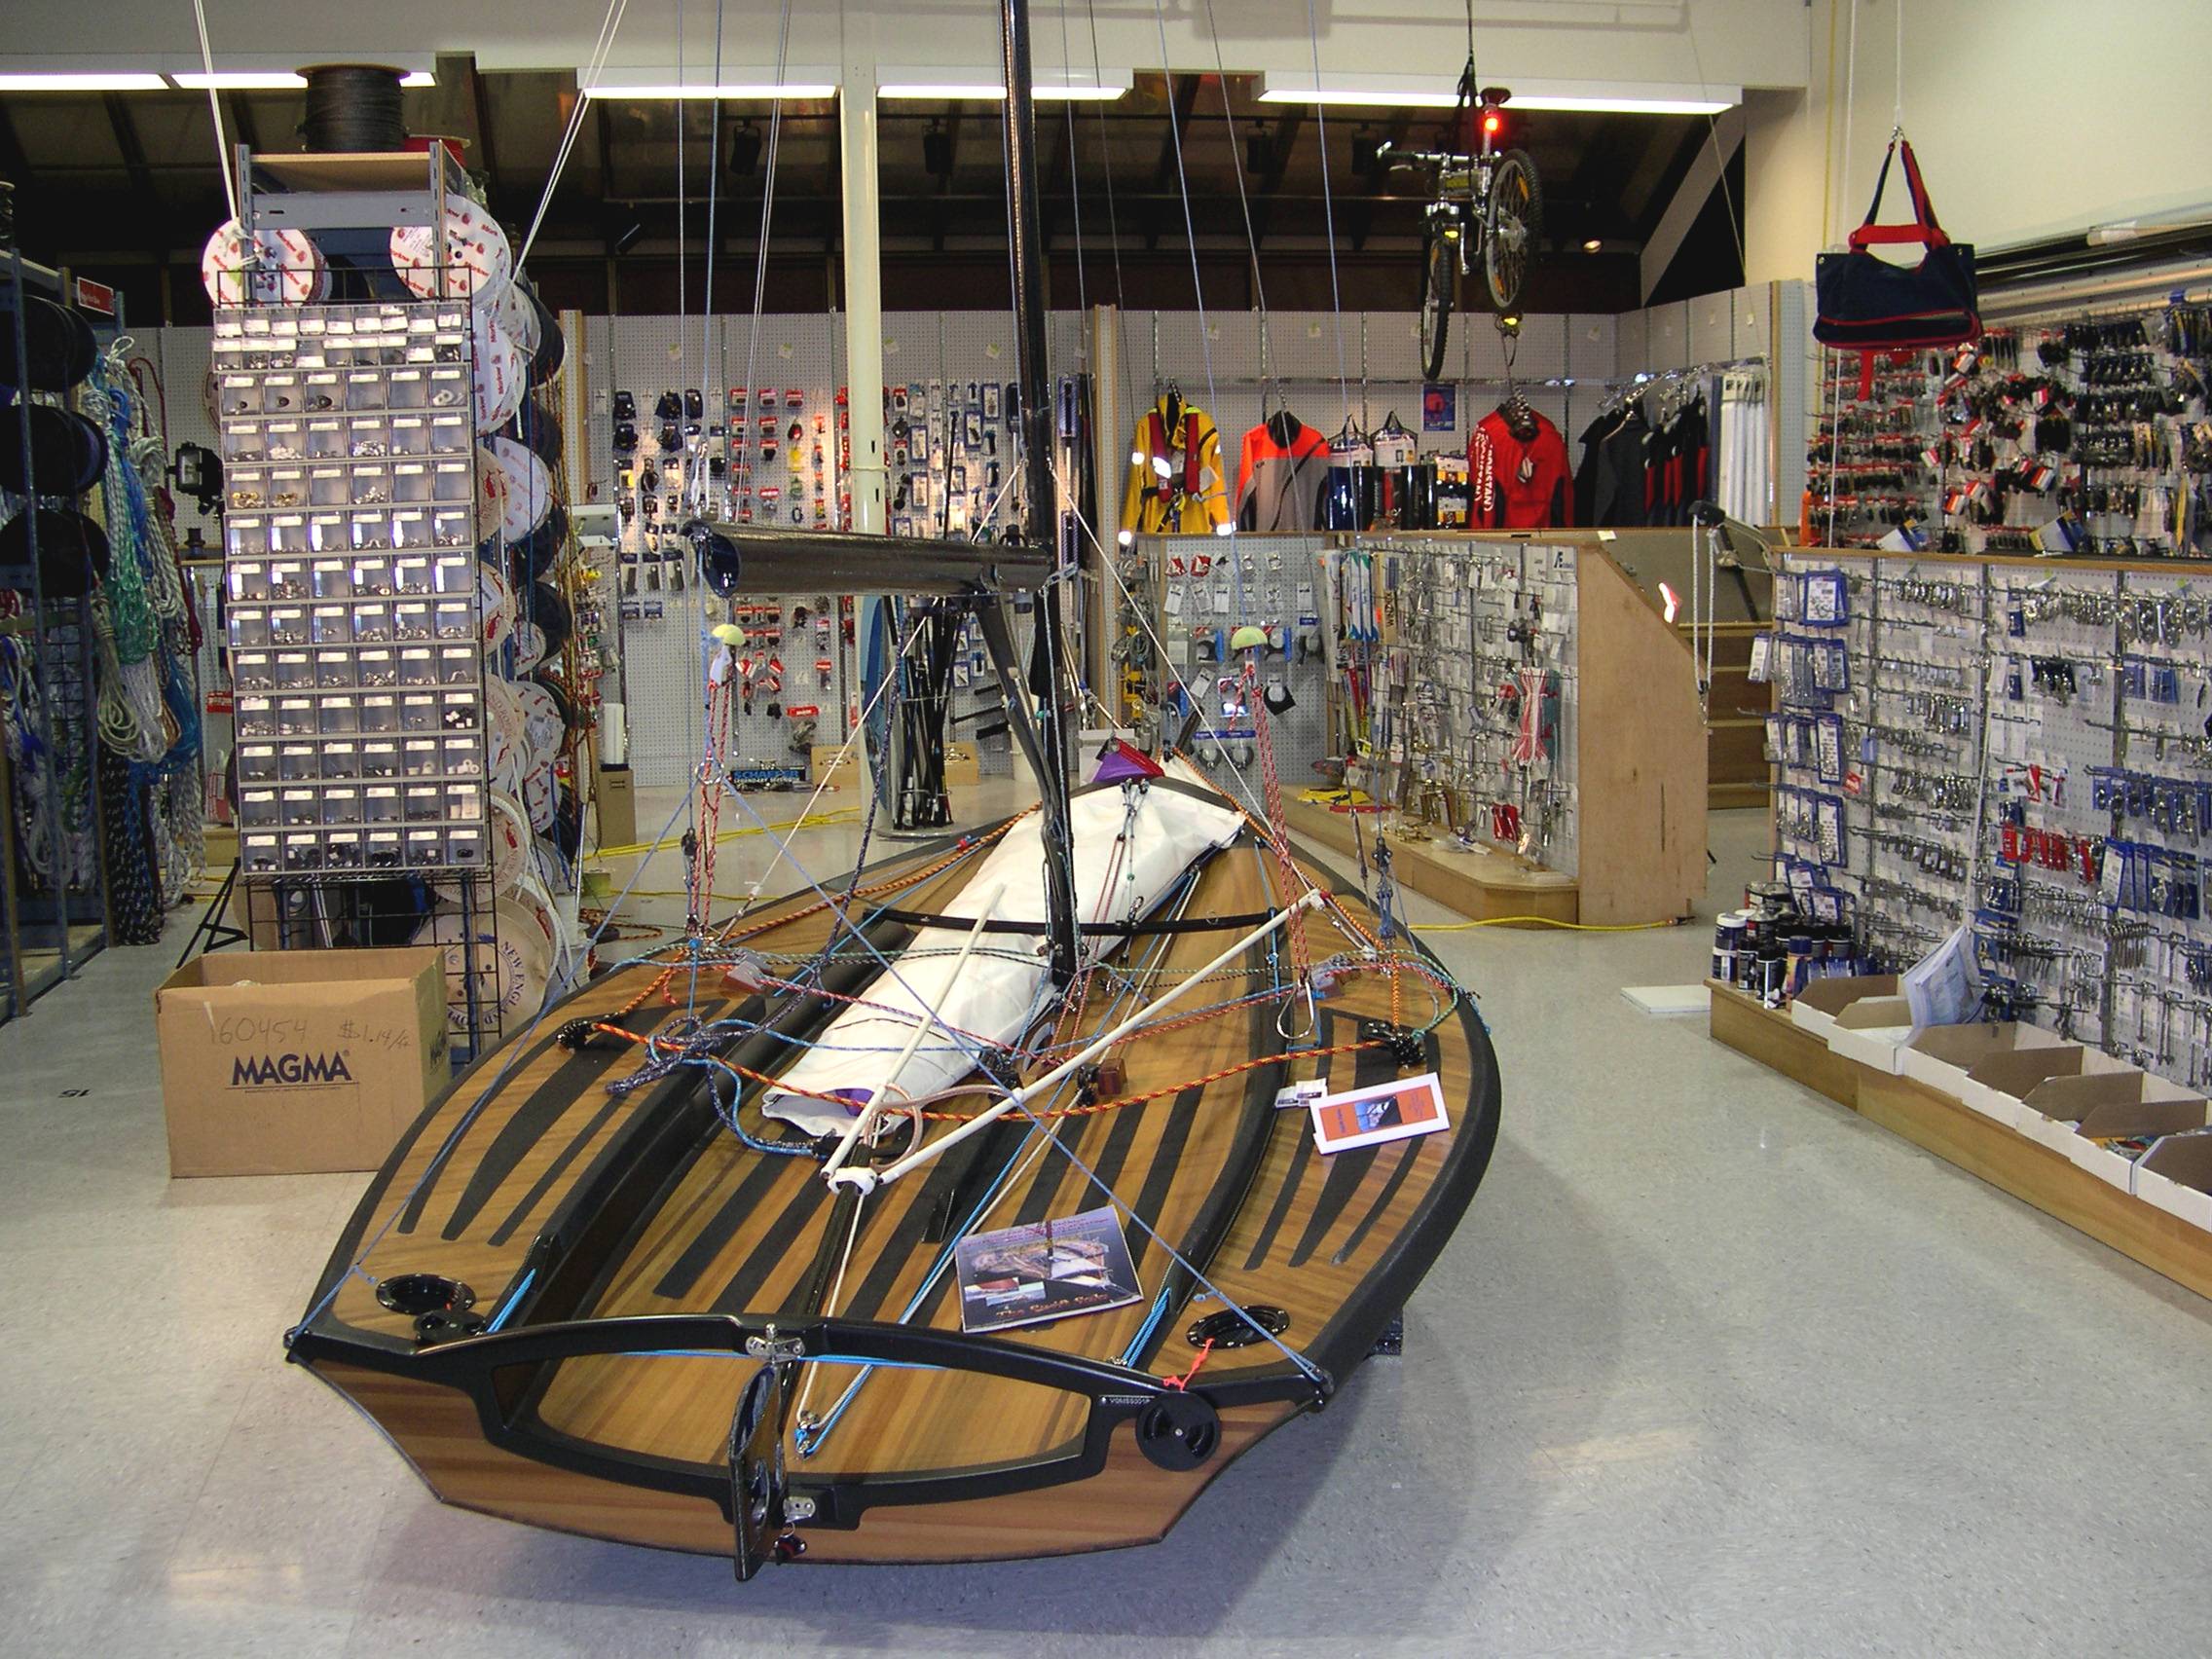
VMG's skiff at Fisheries Supply
posted 2005 May 30
I haven't done much work on the boat recently, since the next step
is a big one: glassing the remainder of the deck. So in lieu of
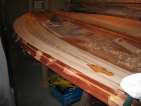
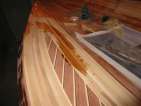
construction pictures, here's a few of the skiff built by VMG. It's a
sight to behold.
Glassing the wings
posted 2005 May 15
Did a full sealer coat
on the wings, as well as the mahogany gunwale strips. Sanded
everything down and vacuumed up the mess. There didn't seem to be
much outgassing from the sealer coat, so I think I'm ready to apply
the glass.
The glass comes in a 50 inch wide roll. The wings are 22" wide at
the widest point. I was going to use the remaining glass from
glassing the hull to glass the wings, but the strips I cut off aren't
wide enough - so I have to use the main roll of fibreglass (I hope
there's enough left for the rest of the deck...)
Since I had a bit of time before I could glass the wings, I decided
to trim the stern edge correctly. When I trimmed the hull I trimmed
it about 1/8" long which
means when I complete the trim for this it should be 1/8"
short of the aft edge of station 14. (Since the transom is
inset 1/4" from the aft
edge of station 14.) I used the jigsaw and pullsaw to do most of the
trimming, and then came back with the belt sander to smooth things
down even. Just be careful that if you do this, the belt is pushing
the strips towards the rest of the hull, otherwise you get problems
like this.
With the glass all laid out, I drew a pencil down the grove of the
step to figure out where to trim it off. This sheet of glass I
trimmed about 1/2" from the bottom of the step; the deck piece will
overlap by about 1 1/2".
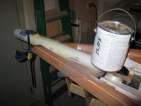
Next is the actual epoxying step. I pulled four 10-squirt cups of
resin; as it happens, four 7-squirt cups probably would have sufficed.
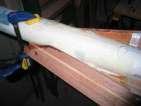
It took about 40 minutes to do a single wing. Again: start in the
centre, work towards the edges, always make sure the edges stay
wet. Start by wetting out the glass, then come back and pull off
excess epoxy for the dry but
still wet look. The trickiest bit was dealing with the threads at
the bottom of the step - I figure I'll just come back later and sand
them down.
Return four hours later for the filler coat; this goes much
faster if you use a roller, but the roller is thirsty and drinks a lot
of epoxy. Also be sure to tip off the surface with a brush. Return
again four hours later for the third coat.
After that, it was just removing the cured glass from the edges of
the gunwales, and cleaning up drips along the step.
Preparing the wings
posted 2005 May 8
Almost ready to glass the wings. There was a bit more sanding to
be done - and then it was time to fill all the holes. I
have
done
this
before
so it wasn't a big deal this time. There was one spot where the
strip was oddly cut and had a long gap, so I wanted to get that filled
in, plus a few smaller holes around the pattern. I also filled the
screw holes in the gunwale and a couple missing chunks of mahogany.
After that, it was just
one
two
three. The third coat
went over the entire pattern - the mahogany seems to have a tendency
to blow small bubbles, so I wanted to ensure I sealed it.
Sanding the wings
posted 2005 May 1
Now that I had a cured cylinder of three layers of 8oz s-glass, I
bonded it in place. I
used a whole ton of epoxy/silica in doing this - more than I probably
should have. The underside of the bow started to bubble once all the
epoxy kicked off, and I'm going to have to go back and sand off a
bunch anyway.
However, shaping the bow was just a bunch of time with the belt sander, then the random orbital, then a block. Add a bit more
fairing compound, and things get pretty fair.
Next step was to plane down the top edges of the gunwale and the
strip running along the top edge of the step. This resulted in many
curlies, which Tristan
picked up and put in the trunk of his orange car.
Once those were ready, I installed the front edges of the step.
The position of the gunwale edge and step edge of the front step is
fixed by the deck plan. The angle it sweeps back is up to you. Mine
sweeps back 1 1/2" from vertical - I decided that looks good. I
aligned everything up, drew a few straight lines, and used the
jigsaw to cut away the pieces. For the vertical part of the step, I
just used the pull saw - jigsaw can't reach in there. I cut about 1/8" from the
line, so I could sand things with the correct bevel.
For the actual step, I just used scrap hybrid. I cut a pattern
with a piece of cardboard, cut out the hybrid a bit large, tried the
fit, and drew a rough line of what the angle should be. Then I just
adjusted the disc sander and sanded the bevelled edge. I didn't worry
too much about a perfect fit - plenty of epoxy filler is going to be
in here. Once all that was done, I installed the pieces;
everything looks pretty good.
I also started pulling
staples and scraping
the wingtops. Once that was done I built a very flat longboard out of
two pieces of 1/4" ply glued together, and started sanding.
Page 39 of 62
« First
…
«
37
38
39
40
41
»
…
Last »