posted 2006 Feb 26
And a fine Olympics
they were. Biggest Canadian medal haul ever: 7/10/7, one behind the
US, plus a whole number of people in 4th and 5th! Whoohoo! (These
are my second Olympics -
here's hoping this project doesn't last to three.)
And, just to keep you all boaty, here's a few links.
- (link)
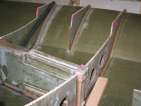
How to build the centreboard cassette block
- (link)
Centerboard Construction 101
- (volume 1,
volume 2)
Rigging manual (June 2004 edition)
- (link) How
to install the spinnaker sock
- (link) Plans
for the mast step compass adaptor bracket, for a TackTick
Micro Compass
- (link) How the new bridle
works (this replaces the eye on the gunwale).
- (link) Christian's parts
list.
- (link) Rudder blade
measurements, from Greg's new and improved blade.
- (link) How to best wetsand
epoxy.
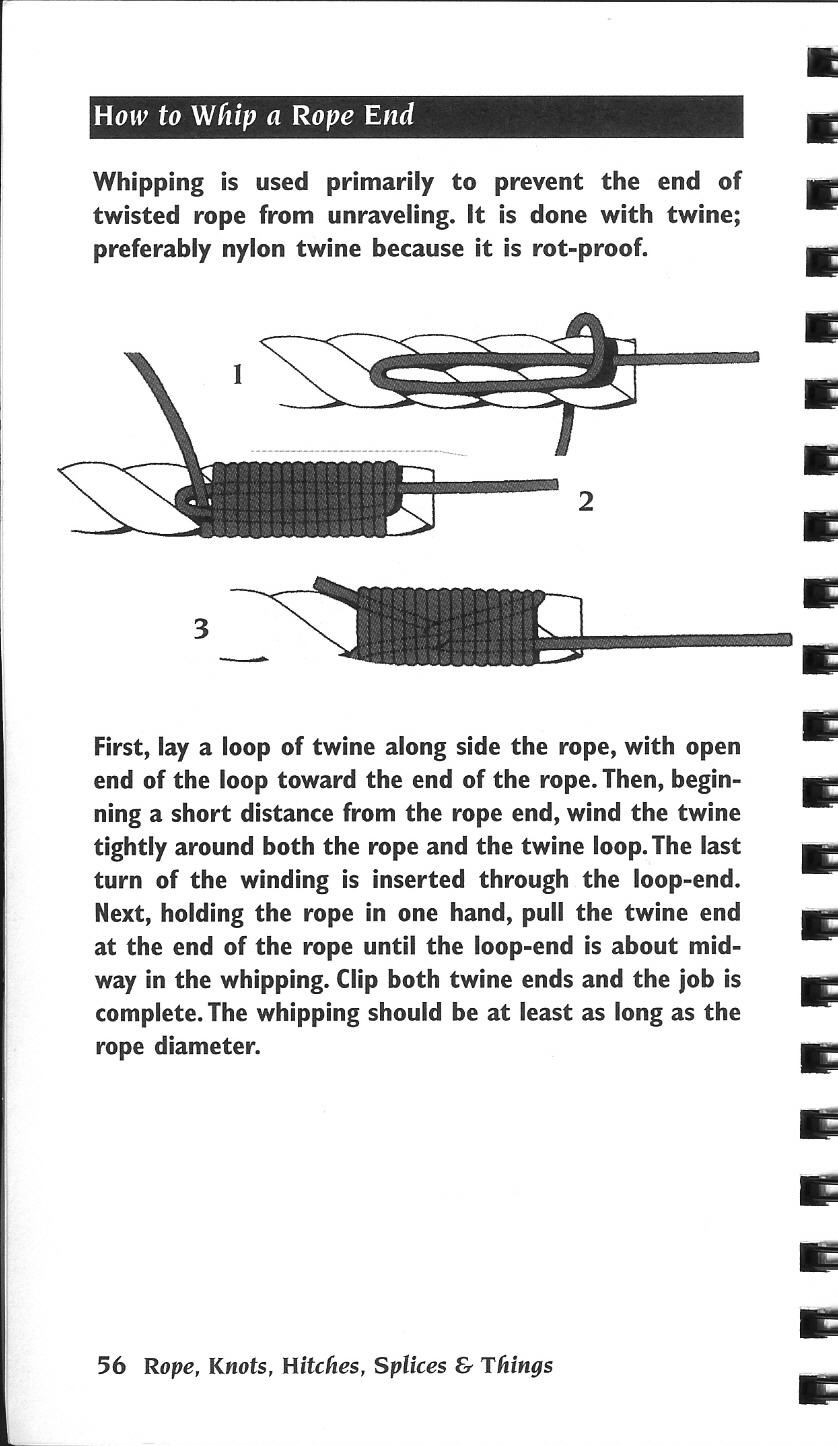
- (link) How to whip a
rope.
- (link) An article on how to
build a centreboard or rudder (should you want to follow the
traditional, non-Swift way).
And a couple non-boaty:
- (link) Plans for
a router table
- (link) Plans for nice
sawhorses
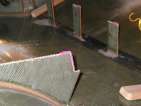
Playing Whack-A-Mole
posted 2006 Feb 19
Getting the deck to fit nicely to the hull is like playing
whack-a-mole - you whack down one spot, and another becomes the
problem. Whack it down and it's something else. Repeat.
I started with the bow - I carved off the sides of the
backing block, right in front. I even cut off part of the tee-nut for
the bolt. I figure there isn't much more I can remove here, I'll have
to carve out the hull from now on. But that said, the gunwales now hang over the edges of the
hull. I have to say, if the bow piece was installed a mere 1/2" further
aft, it would be much, much easier to install this entire thing.
With the bow touching, the backing blocks for the jib track became the
problem.
Once I carved those down, I realized the backing blocks for the
centre bevel blocks were the next high point. These were a bit
trickier - I didn't really want to pull the entire deck off and flip
it over. So I climbed in the
hull and worked on them there. I assumed the blocks were centred,
and removed the same amount from either side (the outer edge of the
trunk is 2 3/4” wide). I then used a router bit in my Dremel to
draw a line through the block; the Dremel wasn't quite fast enough,
and this burned the wood (lots of smoke). I chiseled off the unneeded
piece, and cleaned up what was left with the rasp. Overall, I removed
about 1” of
material from either side.
My first attempt at this worked pretty well, and after rasping out
the hole for underneath the block, I only had to remove a bit more
from the backing block. When rasping the bulkheads down, the trick is
to ensure you don't cause the hybrid to separate from the cedar. This
is prone to happen on the far edge, because the rasp's teeth point
forward. I ran the rasp at an angle to avoid this, then came back on
the other side to flatten it out.
Once that one was done, I took a few pictures - looks like
station 10 is the issue. Sure enough, when I put the playdough down
on it, it was squished flat, particularly at the top. Fix that up... now what's
next?
Oh, and I should have been worried about how much the bow goes up
relative to the stern. For now this isn't a problem, but I'll have to
fix the block situation eventually. I can't hang the boat with the
current setup (sigh). I'm thinking I should look into a deck
organizer (like a RF448).
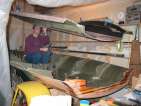
I also went to visit the CYC open house... and, of
course, took a few pictures of Bram's latest rig setup.
Re-hanging the suspension system
posted 2006 Feb 12
I started to work on fitting the bow fitting in place. Pretty much
everyone on the swiftsolo list
recommends
playdough.
After mucking around with my camera on the inside of the hull (it took
forever to get it to focus correctly, and I had to learn how to
manually focus the camera) I'm willing to give it a try. I put some
down on a few exposed
edges and tried it out. Once the hull is placed and lifted back
up again, I used a fingernail to push through the playdough and see
where the thin spots were.
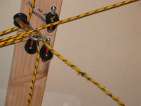
I also realised that my current suspension system was in danger of
breaking (which wouldn't
be good). I bought some wire line at the Orange Borg to replace the
previous rope, but eventually decided on true line from West Marine.
(The previous yellow stuff stretches quite a bit - I was going to have
to readjust all the line anyway. The deck lowered by ~12 inches while
it was hanging up there.)
I decided to use double blocks and route everything through those.
That plan didn't work -
the rope chafed on the edges of the blocks. Instead, I installed four
cheek blocks, and routed a line for each block.
The original Harken
Hoister has both the fore and aft lines going through the same
blocks - but this should work just as well. I was concerned about
having the blocks slightly separated - it may mean that one end will
go up and down faster than the other. But it hasn't been really
noticeable. [Update 2006 Mar 25:
Actually, it has been. The bow (which has the outer blocks) goes up much faster than the
stern does. I had figured I would have to re-do everything with
perhaps a deck
organizer which seems to be the closest thing I can find to the
Harken Hoister part. But Max pointed out I could just move the eye
hooks further away from the blocks, and that would work out well.
Pity it's so hard to get them out of the 2x4...]
When I first routed the (new) line, I didn't tie off the line at the
point where it connects up with the haul. I tried lifting it this way
- as it happens, the deck has much more weight on the aft line, enough
that the aft part of the deck would remain touching and the entire bow
would rise, with the whole thing slipping through this point.
Another interesting note is that when you lift the deck via these
suspension points, you can see the entire wing flex as you lift.
Probably wouldn't be good to leave the deck suspended overnight.
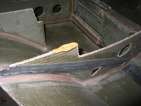
Beginning the fitting process
posted 2006 Feb 5
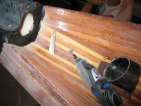
I continued working on fitting deck to hull. The backing piece for
the bow fitting needs to be tapered quite a bit more than it currently
is. This stuff is two layers of the epoxy/hybrid/s-glass plate -
very strong and hard to cut. I tried out sandpaper, the rasp, a
file... no go. I finally found something which will cut it - a
diamond-tipped circular Dremel bit. And it makes short work of it
too. Cool. (Just wear a respriator when doing this work. It's
messy.)
Next step was to trim off the ends of the bolts in the forward edge
of the backing plate. I sacrificed a blade per bolt but otherwise
this worked pretty well. Just be sure to not heat the bolt too much -
one got pretty hot and melted the plastic covering to my workbench.
(And it changed colour - I hope this doesn't mean it's strength or
stainless properties changed.) Once cut, I used the edge of the
diamond dremel bit to shape the ends so they would easily go into the
tee-nuts.
I also carved out
notches in the trailing edges of the bow piece, so the backing block
of the bow fitting can fit in place.
Oh, and the whale
skeleton of the strongback lives on.
Page 30 of 62
« First
…
«
28
29
30
31
32
»
…
Last »