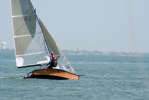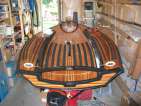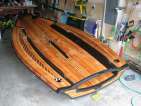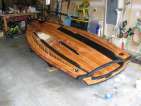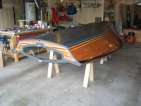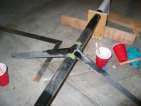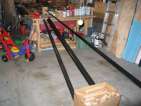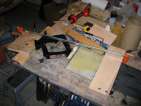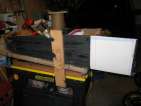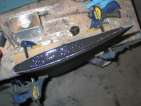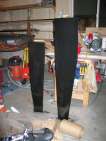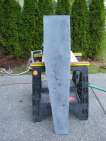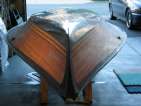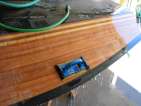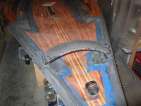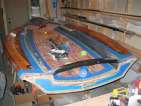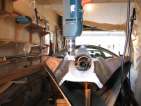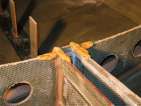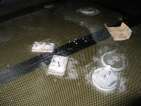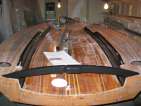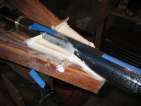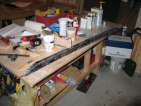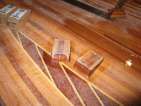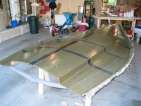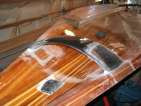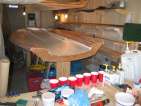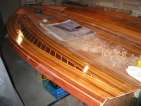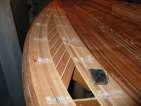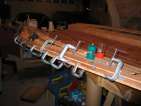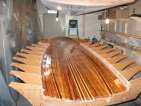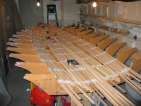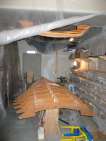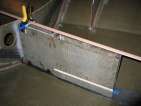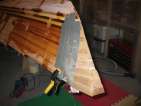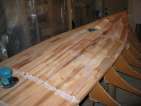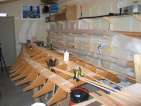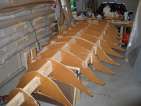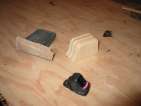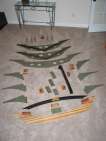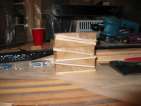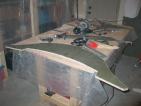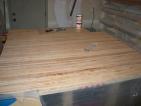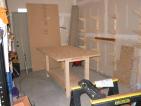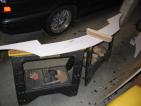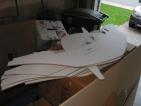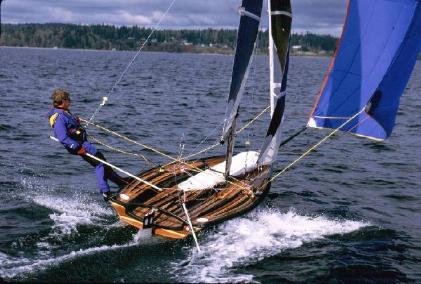
(What it will eventually look like)
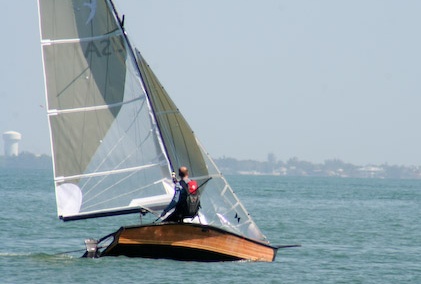
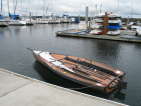
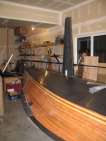
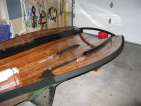
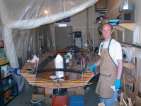
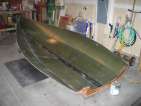
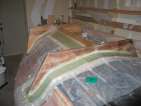
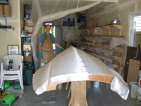
(What it does look like)
USA012 — Crusher
My grandfather, Frank Stevens, built boats. I know of at least four — he built a small pram, "Pootzy", which he used to row around the local lake. That boat was lost when it escaped its strappings and flew off the top of the car. He built a new one, "Pootzy 2", which is now housed in Max's basement.
His next boat was his first sailboat, a pram, 12 ft. in length, named "Chick". All his children learned to sail in her in the great lakes (less Michigan), and in the Atlantic off Maine. She was a "St. Catharines" boat, travelling on the car roof. My dad tells me he gave this boat away to one of his clients at the bank he worked at.
His next boat was a large, 20-foot sailboat. I remember visiting Grandad as a kid, and seeing his boat in various stages of repair in his garage. It had a light, powder blue paint on the hull, and plenty of exposed woodwork - quite a sight. Of this boat, my uncle Herb says:
My Dad's 2nd sail boat is a British "Rambler" design, and was christened "Loon" when launched in Falcon Lake, Manitoba (east of Winnipeg) in the autumn of 1963. Construction started in St. Catharines and finished in Winnipeg. My Dad's transfer with the bank was conditional on the bank paying the moving of her. This boat resembles the "Lightning" design, with its double chine, but is not intended to be a racer, as is the "Lightning" class. It is 17 ft. 6 in. in length and the design was slightly modified to add a bit more freeboard in order to keep the interior drier, as family and middle-aged cruising were planned.
Today, this boat is housed in Uncle Herb's garage.
When Grandad was in the war, he was in the navy, stationed on a number of destroyers (HMCS Kokanee, HMCS Naden) (he said the worst part of working on a destroyer was when they were setting depth charges for the U-Boats — a game of cat and mouse, and the winner never certain). For breakfast, he would eat Shredded Wheat, which back then was large — about 5 cm by 15 cm. These he would crush with his hands, before pouring the milk on. Thus his nick-name came to be "Crusher".
2008
-
May 2008
Sailing!
-
April 2008
Crusher gets wet, Swift Solo 2008 National Championships
-
March 2008
Cutting holes in the insert blocks for the daggerboard
-
February 2008
Rigging
-
January 2008
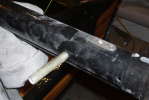
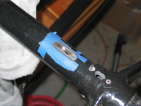
Drilling the mast and boom
2007
-
December 2007
Time off to exercise
-
November 2007
Rigging the mast
-
October 2007
Waxing, non-skid, screwing things down
-
September 2007
Finally, finish varnishing the deck, apply non-skid
-
August 2007
Still Varnishing the deck
-
July 2007
Varnish the deck, rig the mast, and visit the Swift Solo 2007 National Championships
-
June 2007
Varnish the hull, and bits and pieces
-
May 2007
Varnish the spars, build the spreader assembly
-
April 2007
Prepare the mast, boom, and spinnaker pole (and re-build the spreaders)
-
March 2007
Extract the rudder from the rudder box (sigh)
-
February 2007
Build the rudder box
-
January 2007
Finish the rudder, build the tiller
2006
-
December 2006
Build the rudder, spreaders
-
November 2006
Build the centreboard
-
October 2006
Finish wetsanding (the hull)
-
September 2006
Start wetsanding
-
August 2006
Black trip on the deck, finishing the hull
-
July 2006
Finishing the deck, preparing for black
-
June 2006
Rested and Relaxed.
-
May 2006
Bond deck to hull!
-
April 2006
Preparing to mate deck to hull, mounting chainplate blocks
-
March 2006
More whack-a-mole: re-drilling the bow fitting (so it will fit), and fitting deck to hull
-
February 2006
Playing whack-a-mole: fitting deck to hull
-
January 2006
Installing protection patches, and the deck meets the hull
2005
-
December 2005
Installing the jib track, sanding down the step
-
November 2005
Building the bow fitting, installing the jib track
-
October 2005
(more) Installing deck hardware, toe rails
-
September 2005
Installing deck hardware, rigging pictures
-
August 2005
Glassing the underside of the deck
-
July 2005
Installing the launcher throat
-
June 2005
Glassing the deck
-
May 2005
Glassing the wings
-
Apr 2005
Installing the darts
-
Mar 2005
Stripping the wings, installing the gunwales
-
Feb 2005
Sealer coat on the desk
-
Jan 2005
Stripping the deck, fairing the centre
2004
-
Dec 2004
Hang the hull, flip the jig and re-align, start on the deck
-
Nov 2004
Build & install the centreboard trunk
-
Oct 2004
Glass the interior of the hull, install bulkheads
-
Sep 2004
Build the cradle
-
Aug 2004
Glass the hull, attach the transom
-
Jul 2004
Install the bowpiece, fair some more
-
Jun 2004
Fair, strip below the chine
-
May 2004
Build toe rails, install strips
-
Apr 2004
Align the strongback
-
Mar 2004
centreboard trunk, finish remaining pieces, build the strongback rails
-
Feb 2004
Build transom, gudgeon blocks, centre rail, vang pedestal, transom bar, bevel blocks
-
Jan 2004
Route station 6 (twice), 8, partial bulkheads, T-soldiers
2003
-
Dec 2003
Cut strongbacks, build bulkhead material
-
Nov 2003
Strips arrive, building a workbench
-
Oct 2003
Sand templates, John R Sweet materials list
-
Sep 2003
Cut patterns
-
Aug 2003
Source materials, deck rigging, safety
-
Jul 2003
Find strip suppliers
-
Jun 2003
The vision, WoodenBoat article
